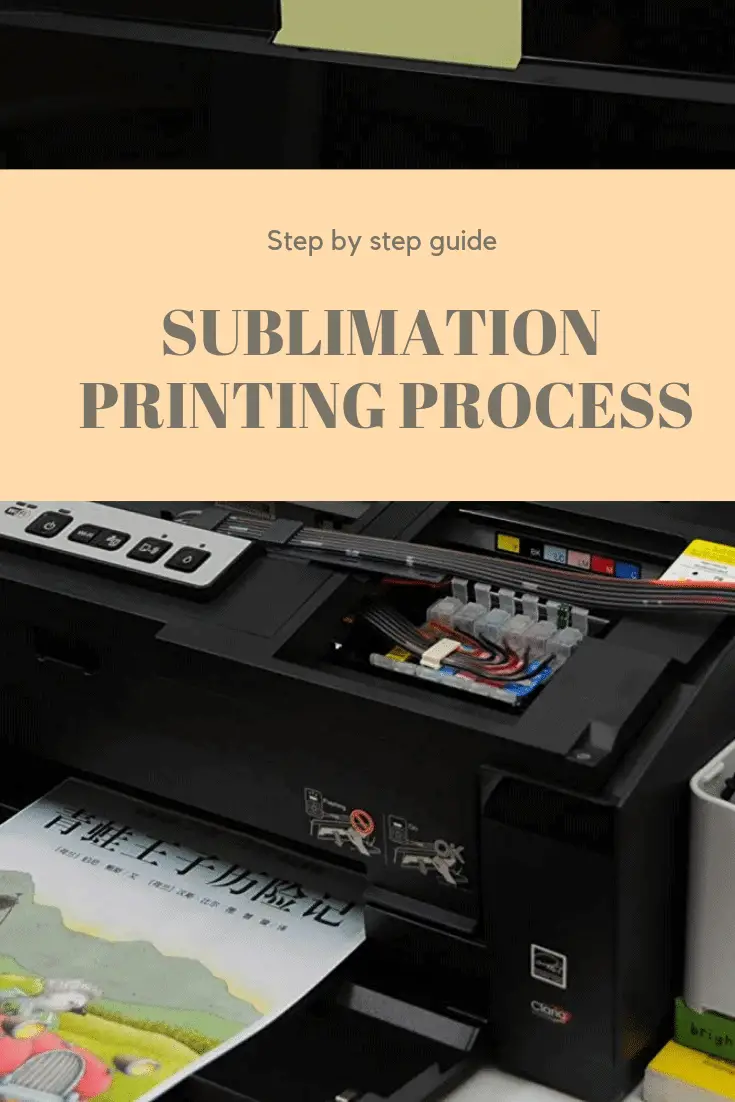
Sublimation (aka dye sublimation process ) or printing is so much fun! You actually get to print whatever you can imagine onto polyester (or stuff coated with polyester) and do it at your home/garage/basement. As long as you have the tools and materials the process is straight forward with little chance for failure. Yes, you might need some trial and error in order to learn the specific printer and press machine you are using but the method itself is easy.
You might need a bigger printer or multiple runs with the press machines for different structures but all in all the process will be the same whether you perform it in your home basement or in a sublimation business.
Step by step guide:
What do you need?
The two main tools for the process are
-
Sublimation printer
A special printer that knows how to take the sublimation dye and apply it to the sublimation paper. Obviously, you will also need Dye Sublimation Ink
TIP: you can find a lot of guides around recommending you to buy this model or another. Well, not any inkjet is a good sublimation printer! Do your research and make sure it is valid for this application. I have a positive experience with the Epson C88 which is cheap but definitely do the work or the Epson Artisan 1430 when I need bigger prints. Just remember that you need the special ink cartridges and dye.
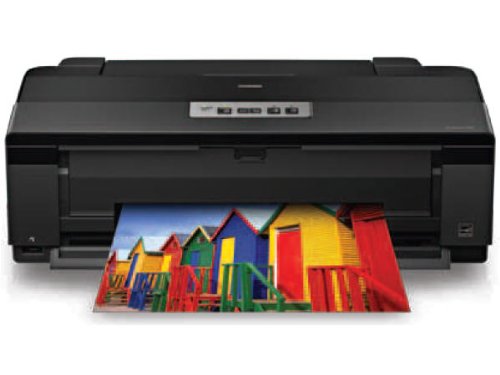
TIP: Don’t use the original ink first then sublimation. You have to use sublimation ink only otherwise you will have a problem with the printer head.
TIP 2: once a printer is used for sublimation it can no longer be used as a regular inkjet.
TIP 3: In order to maintain the printer in good shape and avoid dry ink I would recommend using the printer at least once a week.
TIP 4: Though supporting sublimation, not all printers comes with the ability out of the box. You need to purchase a CIS separately
You have tons of dye inks to choose from. For me, I’m using Cobra sublimation ink
-
Press machine
Generate the heat and hold the printed design and material you print on together. The most common one is flat surface press machines but there are also machines with a unique design like those that are used to print mugs and custom made presses. Though sounds simple there are variations in quality that directly affect the results of the application. For example, the way the heat spread, you really need it to be even in order for the whole layout to stick You will hate having little projection hanging by a thread and washed away the first time some water touches the fabric.
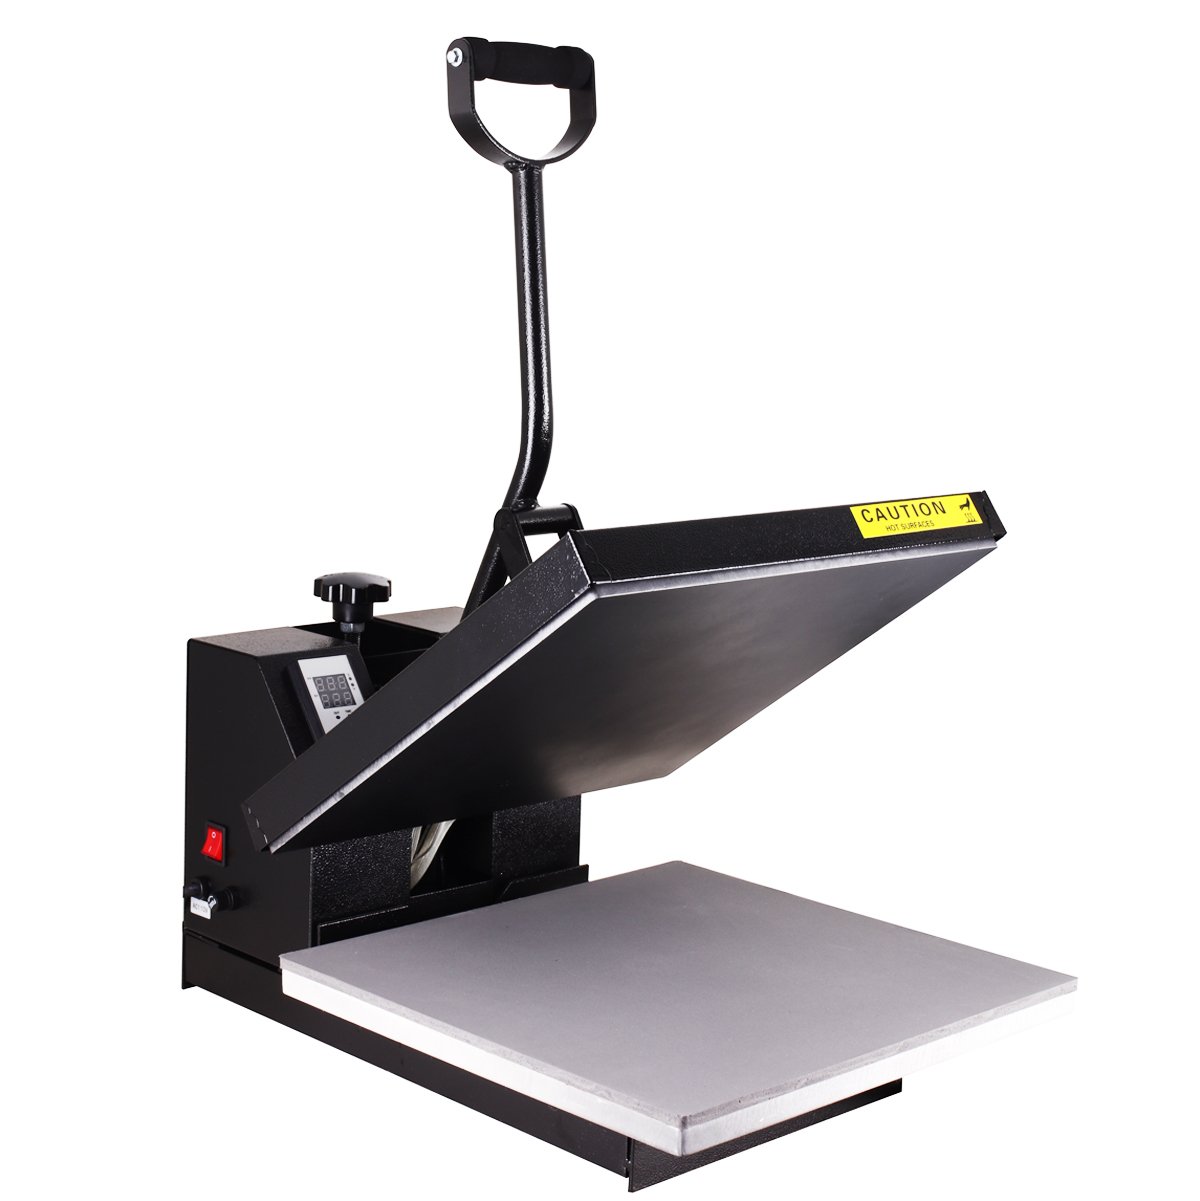
I would recommend the PowerPress HPM-1515-BK. It can surely support the need of a home amateur as well as a small business. 15 x 15 is a good size, that can support the entire chest areas from size women’s XS to men’s XXL.
TIP: This thing is heavy! don’t plan to store and take it out frequently.
-
Dye Sublimation Paper
Just make sure the paper you are using fits the gel or water-based dye you acquired
-
Some kind of adhesive
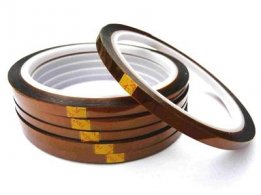
The most common use is the Thermal tape but you can also use an adhesive spray (mainly for fabrics who tends to move a little).
-
Parchment paper
You really want this barrier between the stuff you print on and the press in order to avoid dye bleeding and leave well-sublimed residues.. 5mil Teflon sheets
-
Blanks
A t-shirt or any other material you are going to transfer your design onto
Create your digital image design
Can’t really help you on this step… sorry. You will have to use your creativity and graphic design skills in order to form the image you want to print. Here are some tips:
-
- Most people I know use photoshop.
- You can download a template (and some details) from coastal business
- Remember that you need to create a mirror image of your design.
Print the application using a sublimation printer
-
- Printer settings – Make sure you use high-quality, no color adjustments and the mirror image checked (very important!)
- Load the paper in the right face up/down
Press the design
-
- Preheat the press
- Put the packing paper below and above the blank material and the printer design
- Place garments/blanks
- Clean and align
- Put and align the printed design
- Secure to place (with adhesive spray or thermal tape)
- Press – Time and temperature varies based on paper, the material you print on, dye, your press machine etc…. You can read the instructions and recommended settings but in the end, it is going to be some trial and error
And… ta-da-da-dam! You have your newly printed application ready for use
Polyester coating
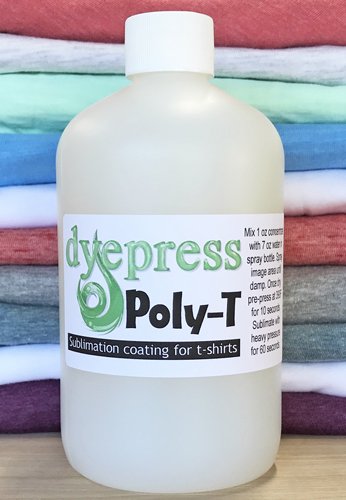
Chemically speaking the dye we are using here is tuned to stick to polyesters, you will get the best results when trying to apply this process over a 100% polyester fabric. Happily, for us, there is also a polyester coating that knows how to stick onto other materials like glass, all kind of ceramics, wood surfaces and granite stone. When heated in the range of 400-425 degrees it will react enough to “glue” the dye sublimated inks. Dyepress is famous on the line of coating products both for fabrics and solids (check their store on Amazon)
Sublimation printing services
It’s not that there is a limit to the stuff you can (semi) DIY at home but for there are some cases where I will positively consider a professional service :
- Quantity – doing one or two t-shirts is fun, doing two sets for an entire sports team is hell
- Size – As explained above you surely can split your design into multiple prints and presses but it adds some complexity and risk. I believe that I will stop at 3 part. If I have more I will go to someone that has a plotter and bigger press
- Complexity – whether you do not have the press or if it is a challenging print like one design that needs to cover the entire shirt including sleeves and hoodie
Sublimated graphics
Practically speaking there is no limit to the level of graphics you can print using this method. I have seen works which are as fine as a hair ( or a pixel ) and id the process was perfect then so did the results. Like anything else in life, the cheap stuff will not deliver. Make sure you have it all in high quality, the design, the paper, the printer, the dye, and the press machine. As most of those are kind of technical (besides the graphics work) I believe that the most important step is the alignment and cleaning of the blanks/printed paper. As much as you will align those two and secure the moving parts in place you will have less ghosting and blurring in the results.
If you are looking to learn the ins and outs of this application you can visit this Wikipedia page that gives some more details
