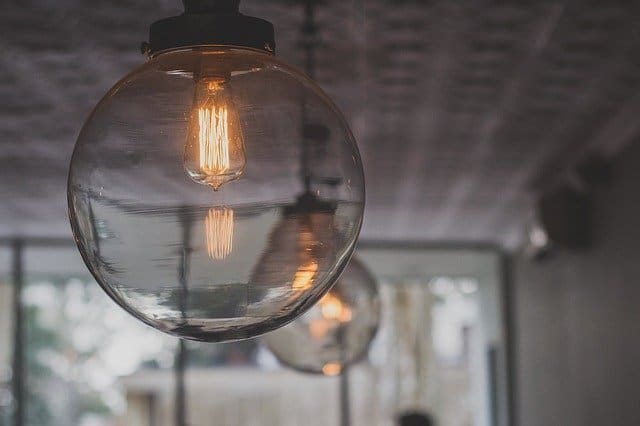
Most of us have grown up in an electrified world, so indoor lighting is no big deal. In the early days of electricity, though, light at the flip of a switch was magic. No wonder the fixtures that survive from that time are eccentric and lovely. They shed light on an age gone forever when most folks were farmers and most rulers were kings. So take down that old fixture—or drag it up from the basement—and give it a whole new life.
Mostly, refurbishing an old lighting fixture entails taking it apart, replacing tired wiring and nonfunctioning parts, polishing it all up and reassembling it. Pay attention and label parts as you go, and you’ll do fine. Though they seem complex, light fixtures are just collections of parts screwed together. Standardization came early to the lighting field, and modern parts often fit fixtures that are 75 years old or more.
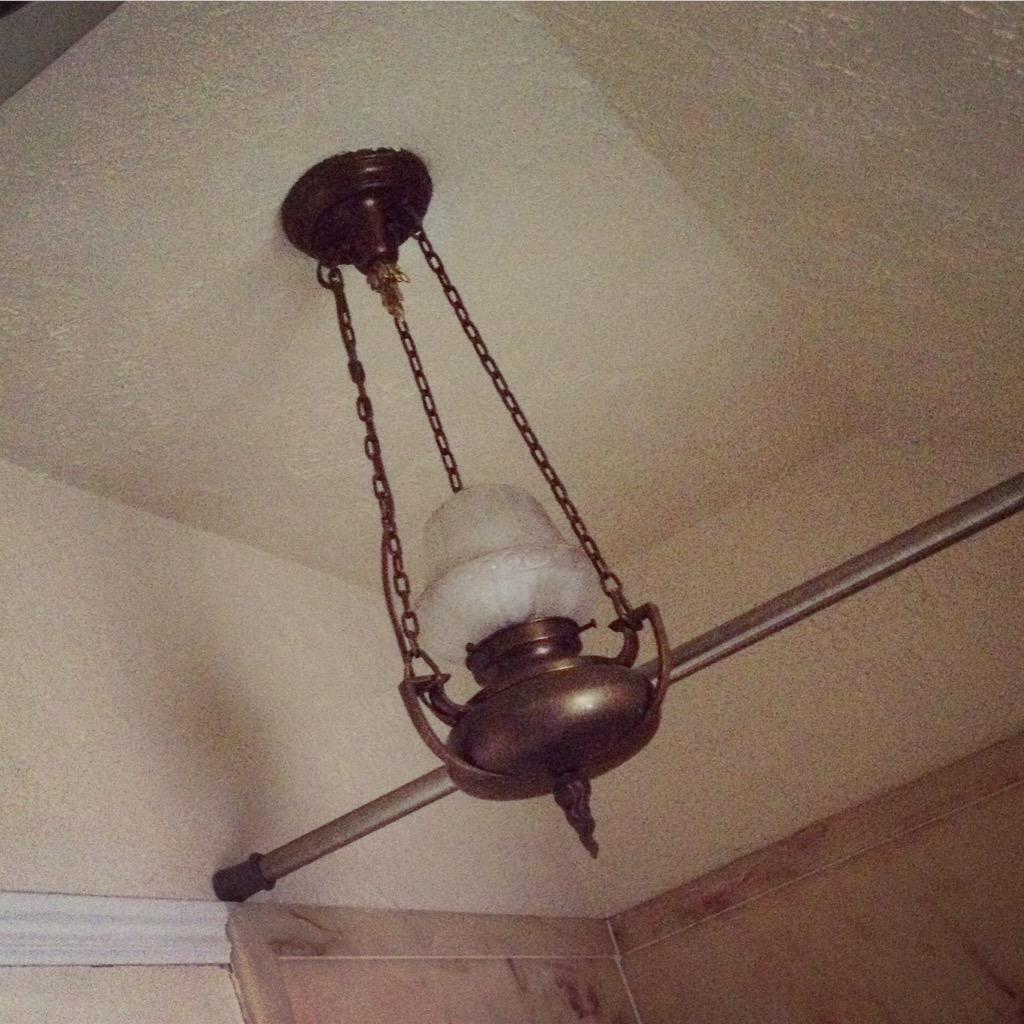
But, as we said at the start, they’re eccentric. Your fixture will likely be different from the one we’ve restored below, so be guided more by the process than the particulars. Our job on the three-socket hanging fixture is a good example of reversing the manufacturing process: unscrewing the bases and sockets, and then pulling out all the wires before you start restoring it. By the way, our instructions are useful for more than just hanging fixtures, with the power at the top and the sockets at the bottom. They’ll also work for wall-mounted fixtures, which are like hanging types turned sideways, and for lamps, which are like hanging fixtures turned upside down.
A Word About Parts
With a little digging, you’ll find a specialty lighting shop in your area that has all the replacement parts you’ll need—with the exception of rare colored shades and some sculpted metal parts. All the other stuff discussed below—locknuts, ornamental finials, chain loops, swag hooks, sockets and the like—you can easily buy, along with a dizzying array of shades and weird bulbs.
Step by Step
1. Disassemble the old fixture.
If the fixture is still up, test to be sure that it’s off, and then take it down. If yours is a hanging type, suspend it from a hook in your work area if you can; it’s like having a third hand. While you’re at it, clear some counter space on which you can lay pieces in the order that you take them off. This will save a lot of head-scratching later. To begin, carefully remove any glass shades and other fragile pieces, put them out of harm’s way and place their mounting screws and other small parts in an envelope or egg carton.
Many old lights are held together by a threaded tube running through the body, restrained on either end by nuts, ornamental finials, chain-holding loops, sockets and the like. The tube serves a dual purpose: it ties the fixture together mechanically, and it acts as a channel for the wiring running down from an outlet box into the fixture.
To disconnect the body or base of the fixture, unscrew the nuts or finials. But be careful not to scratch or mar the metal finish: use a rag or piece of inner tube to cushion the jaws of pliers and other tools you use. As you open the body of the fixture, you’ll expose the wires within. If the wiring is old, snip the wires and pull them out, noting how they’re routed. At this time, you may also find that some internal parts are worn or corroded. Clean them as best you can or replace them. (In our fixture, an ancient hickey joined threaded tubing and allowed wires to be accessed. It was a nifty old piece of iron, but it was shot, so we replaced it with a less glamorous modern one.) If any joints are frozen, use a penetrating oil like WD-40® to loosen them.
2. Disassembling the lamp
Stripping the lamp2. Clean and polish, or refinish. Most old fixtures can use a cleanup, and now’s the ideal time to do it. First, figure out what the parts are made of. Many “brass” fixtures are actually brass-plated steel. Test with a magnet to find out: a magnet won’t stick to brass. Solid brass cleans up nicely with a solvent such as nonflammable chemical stripper (check out at Amazon). Wearing heavy rubber gloves, brush or sponge on solvent. This is best done over a plastic tub. Of, if you prefer, just let the pieces soak in the tub, as directed in the solvent manufacturer’s instructions.
Using a sponge, gently wipe away residual finish or corrosion. Attack stubborn spots with 0000 steel wool. Finally, rinse well with water, and then use a rag to polish the metal with a commercial metal polish (here is the best one from Amazon). Brass will eventually tarnish if it’s not protected. You can spray a lacquer finish onto your piece, but professional restorers prefer not to. A lacquer finish lacks warmth, and it tends to yellow over time. We recommend protecting light fixtures with metal polish or wax. You’ll have to renew it eventually, but since fixtures are not handled much, this finish strikes a good compromise between beauty and durability. If you’re dealing with a painted finish that’s in bad shape, use paint stripper to remove it, and then repaint.
You can polish solid brass till the cows come home without fear of wearing away the finish. For badly pitted brass—or a really high polish—use a bench grinder fitted with a cloth polishing wheel. Periodically load the cloth wheel with jeweler’s rouge; you’ll save hours of labor and get superior results. This setup is also the way to go if you’re polishing brass replacement parts, which are typically unpolished when you buy them. (If a body part is damaged beyond repair, a specialty shop may be able sell you at least a near-match. Brass canopies and finials, in particular, are readily available.)
You can clean up a brass-plated fixture in much the same way as you would solid brass, but be very careful not to grind through the thin plating to the metal below. Plated fixtures often have spots worn through or may be corroded to the point where you can’t remove the tarnish without going through the finish. If corrosion has reached the steel, replating (check the Yellow Pages under metal plating), painting or just living with it are your choices.

If your fixture is silver-plated, ask a specialty lighting shop for recommendations. It’s easy enough to polish it with silver polish, but in doing so you may be removing patina that adds to its value. Nor should you scrub it with anything abrasive, even a scouring sponge: silver is a soft, malleable metal and it scratches easily.
3. Disassemble and test the sockets.
To get at the wiring within, disconnect the sockets from their caps. (Usually, you just squeeze where it says “press.”) Take care not to damage any paper socket liners you may find. Remove wires from the terminals, and then test each socket with a continuity tester. Attach the tester clip to the silver screw, and then touch the socket’s side with the tester point. The tester’s light should come on. Repeat with the gold screw and with the center tab of the socket (if there’s a switch, try it in both positions). If the socket is really old, the screws may not be color coded, and you’ll have to experiment. Again, if the tester’s light doesn’t come on, replace the socket.
4. Rewire the fixture.
Replace threaded pipe nipples, nuts, hickeys, and other parts if they’re corroded. If a new nipple has burrs at its ends, remove them with a round file; if you don’t, the burrs may strip insulation from new wires as you pull them through, causing a short. Replace the old wiring with the new 18-2 lamp cord. For a single-socket fixture, work from the socket up to the mount. For a multisocket fixture, feed the cord from above into the body of the fixture; you’ll soon join the individual wires to those from the sockets. If you’re poking cord through tight spots, wire lubricant will help. When you wire a socket, mount the socket cap to the fixture first, and then do the wiring. Connect wires to the socket terminals, route each socket’s cord back through the cap into the fixture until at least 6 inches of it pokes through the other end of the tubing, and then snap the socket to the socket cap. Where cords from multiple sockets meet with the main lamp cord in the body of a fixture, as ours did, first strip the wires, then splice with twist-on wire connectors.
Safety: Use your continuity tester to check each internal circuit. Also, check for shorts by clipping the tester to each wire in turn, and then touching the probe against the metal parts of the lamp. The tester light should not go on. If it does, rewire the fixture.
5. Reassemble and install.
With internal circuits wired and working, screw together all the remaining fixture parts. Mount your fixture to its outlet box. Next, strip and splice the fixture wires to the house supply wires, black to hot and white to neutral. Note: many lamp cords do not have white and black color coding. Like an extension cord, these usually have an identified side—often a ridge on one side of the plastic sheath. By convention, this side is used as the neutral, or “white” lead. The individual wires of the cord may also be color coded: silver for neutral, and brass for hot. With wiring complete, slide the canopy over the box, fasten it in place—and enjoy your bit of living history.
Tools
- Pliers
- Bench grinder (check on Amazon)
- Cloth polishing wheel
- Continuity tester
- Wire stripper
Materials
- Envelopes or egg carton
- Pieces of inner tubing or rags
- Penetrating oil
- Chemical stripper
- Rubber gloves
- Sponge or detail brushes
- 0000 steel wool
- Rust remover
- Metal polish
- Jeweler’s rouge
- Replacement parts, depending on your fixture and its condition
- 18-2 lamp cord
- Wire lubricant
- Wire connectors